Tuesday, September 30, 2014

Butternut Squash Lasagna w/ Meat Sauce

A Fall Favorite!  I love Fall and everything that goes along with it!  Orange, pumpkins, crisp temperatures, the smell of the leaves falling, the colors, crunchy mornings, coffee, everything!  Butternut squash is one of those things!  This is a great alternative to the old pasta recipe!  If you are vegetarian, this recipe can definitely be done without the meat!  The squash and ricotta mixture will still make it really hearty!  For those who need to, you can also remove the egg from the ricotta mixture!  I am excited already!!!

1 Butternut squash - peeled and cut into 1 inch planks
1 package of frozen chopped spinach - WELL drained - you can add more!
8 oz. ricotta cheese
1 egg
nutmeg
2 cloves garlic - smashed
1/2 sweet onion - chopped
olive oil
1 meat sauce recipe (16 oz. jar of marina or vegetable pasta sauce can be subbed)
shredded mozzarella cheese


In a small microwave safe bowl, combine onion, garlic and about 1 tablespoon of olive oil.  Microwave for 1 min.  Combine ricotta, onion mixture, spinach, egg, 2 shakes of nutmeg and stir together.

Preheat over to 425F.  Grease a 9x13 baking dish.  Pour 1/2 of the meat sauce into the dish and spread it out evenly.  Top it carefully with the butternut squash making a full layer.  Spread the ricotta mixture evenly over the squash.  Top with remaining meat sauce.  Sprinkle with cheese.  Cover with foil.  Bake covered for 1 hour.  With a knife, stab into the casserole to check to make sure the squash is softened.  Uncover and bake for another 15 minutes.  It will be super HOT, allow it to cool for about 10 minutes before trying to serve!  Oh la Fall!!!!!

*I made mine ahead, so I took it out of the fridge and let it come towards room temp for 45 minutes before baking!  ALWAYS line the oven or put a large sheet pan under this, it never fails in running over!

Peel squash and slice in to planks.

This is how I do it, to hopefully make the most of the squash!

1/2 onion diced, 2 garlic cloves, 1 tablespoon olive oil, microwave 1 min.

Add ricotta, onion mixture, spinach, egg, nutmeg.

Combine well.

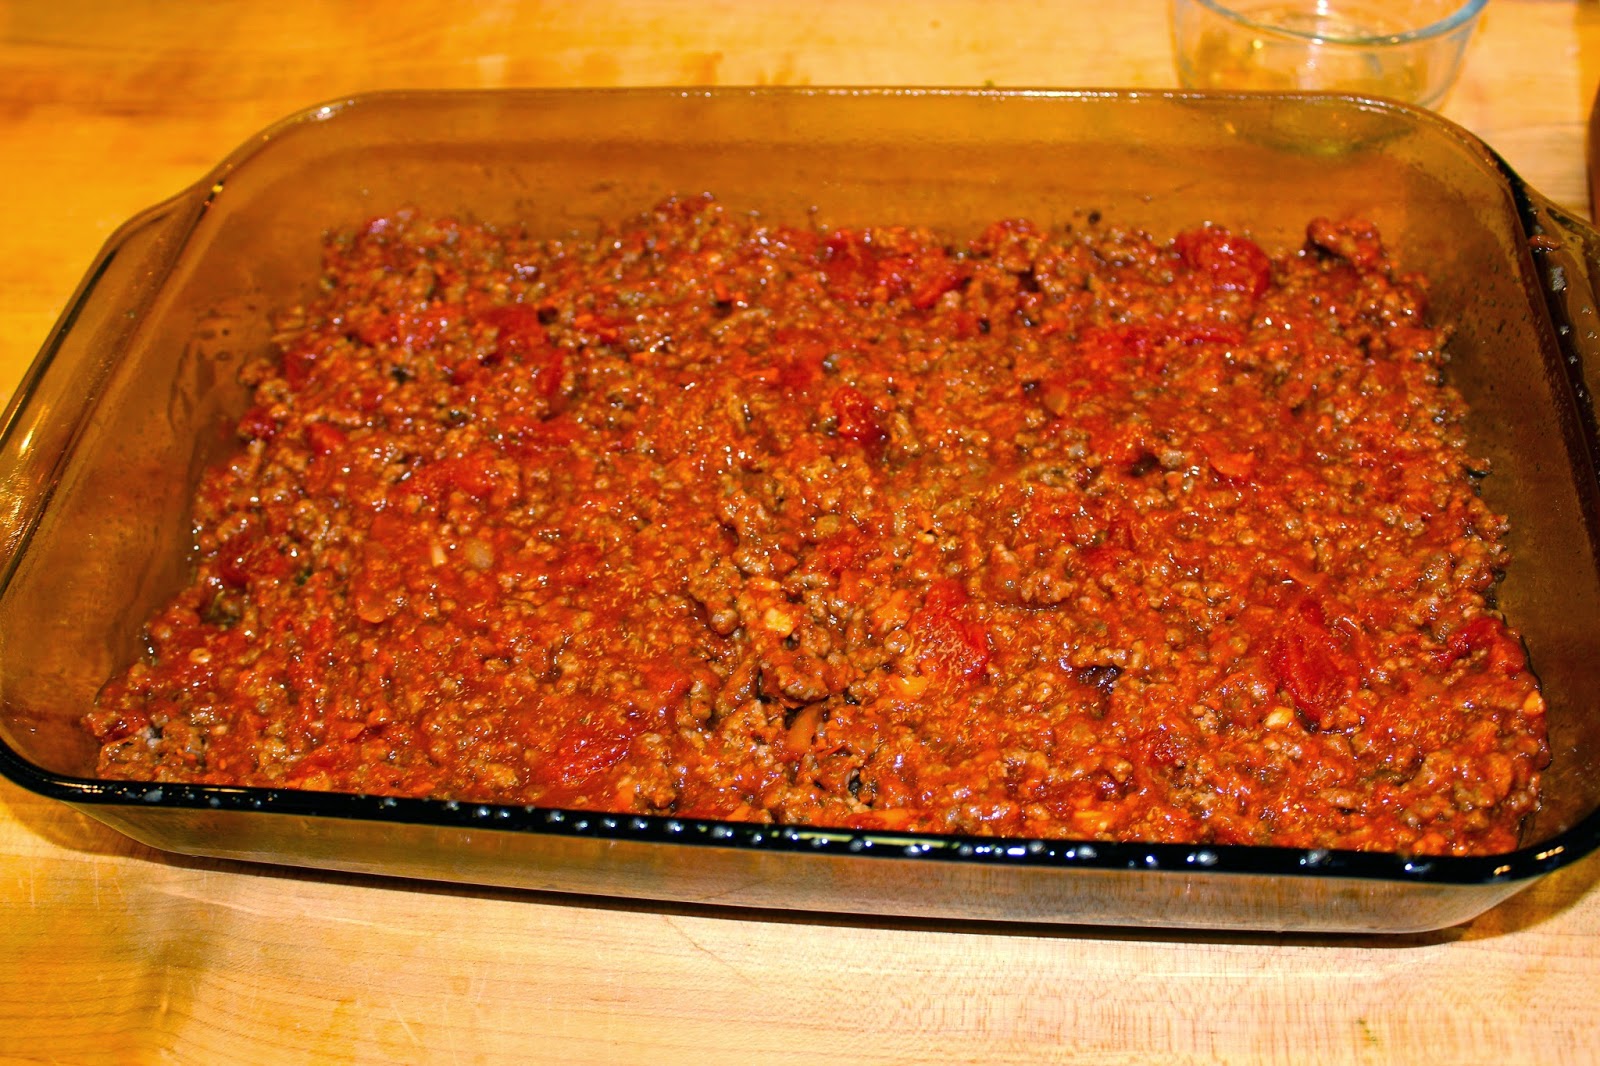
Spread bottom of a 9x13 greased baking dish with 1/2 of the meat sauce.

Spread a layer of squash planks to cover.

Spread the ricotta mixture over to cover.  Top with remaining meat sauce and sprinkle about 1/2 cup shredded cheese on top, then bake covered!
Bubble, bubble, toil, and trouble!  Happy Fall!

Gluten Free Pumpkin Muffins

As much as I try to stay away from this kind of stuff, mostly because if sweet treats are in the house, my husband CANNOT HELP HIMSELF.  Even the kids hide stuff from him, lol.  But, I do usually include something like this to their breakfast menu, and they always like to help make them!

Pumpkin Muffins
King Arthur Flour Gluten Free Muffin Mix
1 can organic pumpkin puree
3 eggs
2 tablespoons coconut oil, melted
1 tsp pumpkin pie spice
2 tablespoons raw honey
1/2 cup almond milk
1/2 cup dark chocolate chips

Preheat oven to 400F.  Mix first 7 ingredients together until completely combined, stir in chocolate chips and let batter sit for about 5 minutes.  Spray muffin pan with cooking spray or fill with liners.  Fill each muffin hole about 2/3 full.  Bake for 25 minutes or until the edges begin to gently brown.  Allow to cool for 5 minutes before removing from the pan!


BLT + Chicken and Egg Chopped Salad

Who doesn't love a good 'ol BLT sandwich?  Whenever I would come home from college, my Mom would make BLT sandwiches for me for........brunch.  That's what they always remind me of.  But we do the salad version, and I swear it just as good!

Ingredients - serves 2 
(I always serve the kids the deconstructed version so take that onto consideration with topping qtys.)
2 large hearts of romaine - washed and dried
1 package of bacon - I only use 2 slices per salad, but the kids always eat the rest ;)
1/2 pint cherry tomatoes
2 hard boiled eggs, peeled, chopped
6-8 oz. grilled chicken (I really like the boneless/skinless thighs for this)
a handful of brussels sprouts, washed and shredded in the food processor (also optional, but they add some great texture and good  health)

1 roasted beet - optional - I love them so I always add 1 to my salad, but my hubs is a no go!
slivered almonds - a nice addition

Your favorite dressing - I rotate between balsamic and ranch on this one.  I do cut the ranch with water substantially though.  I usually just add water to the jar each time I use some, a tip from my Mother-in-law!

Chop, chop, chop all that lettuce up and mix it well with the sprouts.  In a large bowl with a lid, toss in all the greens and tomatoes, add dressing and shake it up well.  This helps you to use a lot less dressing!  Pour greens out onto 2 plates and evenly divide all the remaining toppings!  Serve!

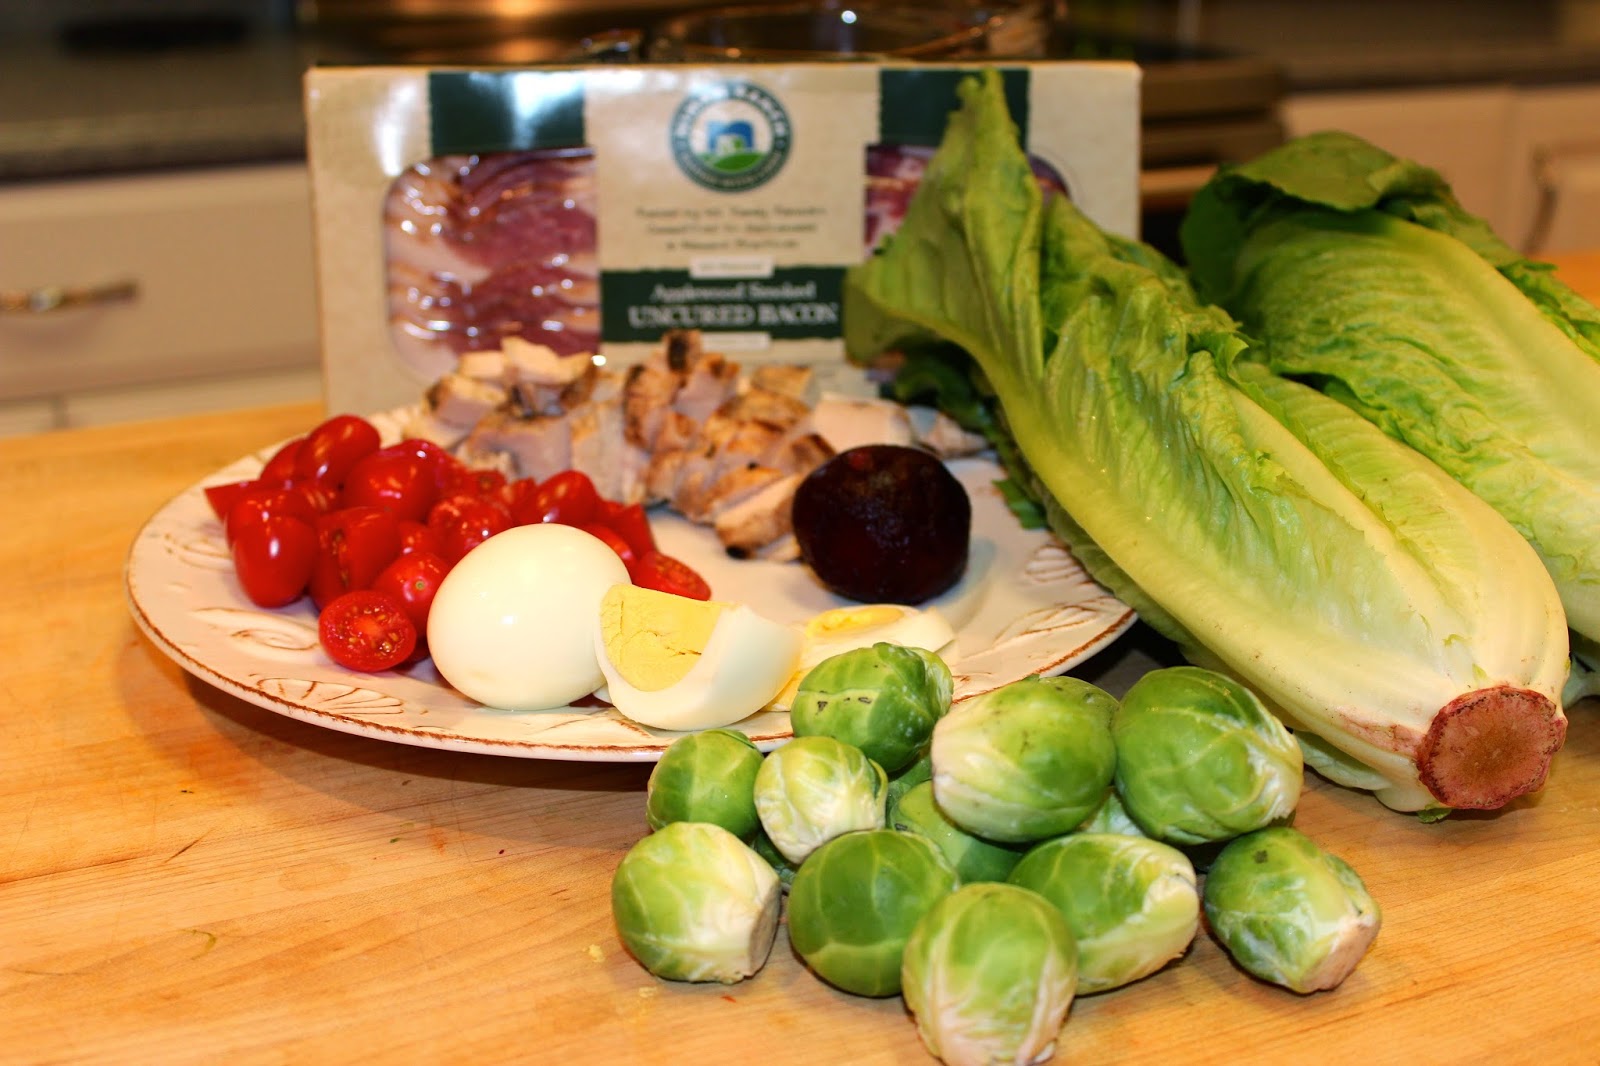
What you need.

Toss greens with dressing, all all other chopped ingredients to the top and serve!

Unless I need the bacon rendering for something else, I usually line a pan heavily with foil, bake at 400F for about 10 minutes, then turn. Continue baking for 10 more then check.  Drain on paper towels. Easy clean-up and perfect bacon every time! 

Monday, September 29, 2014

Southwestern Cauliflower Casserole

After the girls were born, and we were trying to balance our time with them in the NICU and a 1 year old at home, not to mention preparing for life with 4 kids under 2 years old, our wonderful neighbors did a meal train for us.  One of them brought us a Southwestern Chicken Casserole with rice and black beans...it was addictive!  I always joke that I should have been born in Mexico or Texas, because I could truly live on Mexican food forever, so this was right up my alley!  I made it regularly for a while, but when we went to a more Paleo/Primal diet, I had to figure out a way to make an alternative to this recipe!  This is a great substitute, although it is not perfectly Paleo, due to the cheese and the corn, but it's definitely a lot better than the carb filled original!  Plus, make-ahead Primal Casseroles are hard to come by!  Vegetarians can remove the chicken and double the beans!

Southwestern Cauliflower Casserole - makes enough for our family of 6 with leftovers for lunch!
1 head cauliflower (or 2 bags frozen - steamed and mashed with potato masher)
1/2 sweet onion, chopped
3 cloves garlic, smashed, chopped
1 pint mushrooms, washed & chopped
1 red bell pepper, chopped
3 carrots, peeled & chopped
1 zucchini squash, washed & diced
1 yellow squash, washed & diced
8 oz. can organic diced tomatoes (you can use fire roasted or with chilies)
2-3 chicken breasts, grilled and chopped
8oz. can organic black beans, rinsed well
12oz. bag frozen corn
cumin
paprika
pepper
8 oz. package mexican blend cheese or whatever you like (I used a little less than 1 cup)
cilantro - chopped


Start by sautΓ©ing onion, garlic, bell pepper and mushrooms.

Cauliflower rice, steamed and ready to go!
All the yummy veggies before adding the cauliflower.
Pour into baking dish and top with cumin, paprika and pepper.
Sprinkle with cheese and fresh cilantro. Cover loosely. 


Steam the cauliflower until soft.  Break it up with a fork so that it's grainy like rice.  LET IT COOL. (It puts off a lot of steam as it cools and if you don't allow it to release that before you combine, it will make the casserole really soggy).

*Frozen Cauliflower works great!  Just add to a microwave safe container, add 1/2 cup water, cover cook for 10 minutes, mash with a potato masher and leave uncovered for the steam to clear off so it isn't mushy!*

In a large saute pan on medium heat, add a little olive oil and saute onions, garlic, red bell pepper, mushroom until translucent, about 3 minutes.  Add zucchini, squash, carrots and cook for 5 more minutes.  Add beans and corn and continue to stir.  Turn the heat off, add diced tomatoes, chicken, and cauliflower and stir to combine well.  Turn out into a greased 9x13 pyrex dish.  Sprinkle the top with cumin, paprika, pepper.  Sprinkle with cheese.  Cover and refrigerate until you are ready to bake!

Preheat oven to 400F, bake casserole covered for 30 minutes (45 if it came from fridge), uncover and bake for 10-15 more!
*Tip: If I am covering a casserole with foil to bake, I always hit it with olive oil spray first so that the cheese doesn't stick!

*Please post any discussion question in the comments section so others can see and I can answer for everyone!!!! Thanks!

Maple Bacon Brussels Sprouts


Don't be shocked when you want to have these every night!  Years ago I fixed these for my 2 nieces who were about 10 years old then, and it's been a favorite of their ever since!  A great way to get kids to eat them, but mine LOVE to pulse them in the food processor too and getting them involved makes them want to try anything they helped with!  The touch of maple syrup takes the "bite" out of brussels sprouts...and seriously, doesn't bacon make everything better?

Maple Bacon Brussels Sprouts
2 lbs. brussels sprouts
1/2 lb. bacon
1 tablespoon real maple syrup

Wash the brussels sprouts and chop off the bottoms, some of the outer leaves will come off, which is exactly what you want.  Pop them into a food processor and pulse about 5 times.  They should be shredded but still chunky.  Mine got a little more shredded than I like. :/  Set aside.

Cook the bacon on medium/high heat until it begins to brown, then turn it down to medium and keep turning until it is cooked through.  Remove to drain on a paper towel.  This type of bacon will not yield much fat, but if you use something else, you will want to drain some of the fat off, leaving only enough to nicely coat the pan!  Add the brussels sprouts into the bacon fat and toss while cooking on medium heat.  As they begin to lighten up, add the maple syrup and continue stirring for about 3-4 minutes.  Crumble the bacon and add that to the brussels sprouts. Stir to combine and serve!


This bacon is awesome and totally worth trying!  It's pork shoulder and tastes  GREAT!  60% less fat , uncured, no nitrates and tastes better than any alternative I have ever had! TRY THIS! I found it at HT and am hooked!

Cook brussels sprouts in a saute pan on medium heat until they begin to lighten in color, then add maple syrup.  The syrup neutralizes the bite in the brussels sprouts and makes them super delish!

Crumble bacon and stir to combine!

One of my top favorites, I could eat a whole bowl!

Sunday, September 28, 2014

Sausage Egg Cheese Muffins

I just made these for this week!  I purchased precooked turkey sausage crumbles - GOOD!  

The kid's muffins have sausage crumbles (about 2 tablespoons), 1 whole egg, egg whites, 1 tablespoon cheese on top!  

The adult ones have sausage crumbles, leftover sweet potatoes, 1 egg, egg whites!  

That's it - the kids HAMMERED them for breakfast!  I will have to make more to get us through the week, still a huge score!

This week's muffins for the kids and us!

Honey Balsamic Grilled Chicken Wings w/ Butternut Squash Fries

It's a wing thing!  Our kids LOVE wings, really they love anything with "a handle."  LOL...the first time Tucker ate baby back pork ribs, he said that he loved them because they had "a handle to hold onto and a bone plate."  I think that theory stuck and of course he shared it with his sisters, now they all request dinner with a handle!  Haha....so funny what registers with kids.  Whatever works!  They love these so we have them almost every weekend!


This week I had leftover BBQ sauce, so I used that for my marinade!  But normally, 

Marinade
1-2 tbsps. honey
1/2 balsamic vinegar
3/4 cup apple cider vinegar
1/2 cup dijon mustard
cayenne pepper (optional)

Chicken
2 dozen drumettes/wings - rinsed & dried
6 drumstix - rinsed & dried

Serve with...
Honey Mustard Dip Sauce

Place the chicken into a large dish.  I used a 9x13 pyrex for this much meat!  Mix the sauce ingredients up in a jar, and pour to cover all the meat.  Cover and allow to marinade in the fridge for as long as you can!  Sometimes it gets only a few hours and sometimes a whole day!  I try to get them into the marinade the night before, but that doesn't always happen!

*This is a great time to get additional chicken marinaded and grilled for other chicken recipes or salads throughout the week! Another reason I chose this recipe for Sunday, so it helped me get all my weekly prep done! ;)


Heat the grill to high heat, burn it off and clean it!
Place chicken on the grill and lower the temp to medium/low.  Anything with a bone will burn up fast any higher...so the lower the better!  Low and slow is the key!  Allow it to cook on low for about 20 minutes, then turn everything.  Allow to cook for about 20 more minutes or until an internal temp of 165 is reached.  *All grills cook different - but just remember you won't burn it on low!


I tossed some breasts and tenders in with the wings for  upcoming recipes and Lunch Salads!  The grill was gonna be on, might as well get that done too!

Turn it DOWN! Place all chicken on the grill! (You can tell my husband did this because the lack of organization and symmetry is killing me ;))

Cook on low for about 20 minutes, then turn. 20 more minutes!

Almost done!  We use this groovy thermometer to make sure we hit 165 with poultry!


The Fries
1 Butternut Squash
1 tablespoon olive oil
1 tsp paprika
salt/pepper
Peel the squash!

Chop it into fries, and remove the seeds! 1 medium squash fed our family of 6 with no leftovers!

Add the squash to a container with a lid, drizzle about 1 tablespoon olive oil on them, toss in1 tsp. paprika, generous salt and pepper, cover and shake to coat.  

At this point you can store them in the fridge for a few hours until you're ready to bake them!

Preheat the oven to 400F.  (If you have convection this is a great time to use it!) Carefully place the "fries" onto a broiler pan or other pan fitting with a rack.  This allows the heat to circulate around them and crisp all the sides.  Make sure they are spaced apart, if they are touching they will steam each other and get mushy!

Bake at 400F for 30 minutes.

Voila, crispy oven fries!  You can do the same thing with sweet potatoes!

Zucchini Spaghetti w/ Meat Sauce


Easy peasy!  Last weeks chill temperatures got me ready for Fall, so this week I am feeling the cozy meals and smelling the pumpkin!  My menu this week includes some of our Fall Favorites and Spaghetti w/ Meat Sauce is definitely one of those!  But, because I actually have 2 recipes on my menu this week that use meat sauce, I made up a big double batch in just a few minutes!  I have it stored in the fridge to use tomorrow for my Butternut Squash Lasagna and later in the week for Spaghetti!  

My kids LOVE spaghetti!  The really prefer it with meatballs, but today I needed to save time, so it's simple meat sauce for us!

Meat Sauce
2 lbs. ground beef - I use Grass Fed Beef here, but you can use regular 93/7 or whatever you like!  It's fabulous with ground turkey too!!!
2 - 16 oz. jars of your favorite pasta sauce - check the ingredients for added sugar!
8 oz. cans of diced tomatoes - again check for added sugar
1 tablespoon Italian Seasoning

Brown the meat in a large sautΓ© pan on medium/hi heat.  Drain off the fat using a ladle.  Add next 3 ingredients and stir tom combine.  Bring to bubbly, then turn down to simmer and cover for 30 minutes, stirring every few minutes. Done!


All you need for sauce! This is a double batch pictured!

Brown the meat on med./hi, drain the fat off.  (I used a ladle because I made a double batch and the pan was really heavy.) Add diced tomatoes, Italian Seasoning, and 2 jars of sauce.

Mix everything together, let it start bubbling, then turn it down to simmer and cover for 30 minutes, stirring every few minutes. Done!


I turn it off and let it cool for about an hour before I store it!  You can freeze it or store in the fridge for about 3 days until you need it!  This goes well with so many thing!  I love to make it in HUGE batches in the crockpot and freeze it in quart sized freezer bags!  They lie flat for convenience in the freezer and you can pop them out 1-2 at a time!

I am serving it over a mix of zucchini noodles and spaghetti squash and using the other half for Butternut Squash Lasagna!  But, it is fantastic in Zucchini Boats as well! Enjoy!

Saturday, September 27, 2014

Stuffed Red Pepper BBQ Enchiladas w/ Cauliflower Rice

Every time Pork Shoulder/Butt is on super sale, I get 1 or 2 and pop them in the freezer.  We LOVE BBQ!  The kids LOVE BBQ....it's actually something that they ask for regularly.  It is SO easy, so inexpensive, feeds us for days, freezes well and is so versatile.  I know, you think BBQ...and that's all you can do with shoulder.  Not true at all.

I will never forget the day a co-worker in Winston Salem to me to the local BBQ joint and introduced me to a pulled pork burrito.  I snickered and thought I cannot believe I am ordering this.  I was shocked at how awesome it was.  The hot BBQ, cold slaw & salsa, the sweet & spicy, all the contrasts were amazing.  Now, I love a tortilla like nothing else....I would practically eat dog food in a tortilla, it is my one Paleo exception for life.  My husband would probably choose Oreos as his exception, mine is a good 'ol flour tortilla. Yum...but I had to find an alternative since I can't have tortillas ALL the time.  And this happened...


One night I had all these BBQ leftovers and was searching for something to do with them, so I chopped the top off a red bell pepper and viola!

Stuffed Peppers
3-4 red bell peppers
BBQ leftovers
1 package of Enchilada Sauce - I use Frontera Red Chile Enchilada Sauce - Harris Teeter
shredded mozzarella cheese - optional

Preheat the oven to 400F.
Cut the tops off the peppers, just about where the bumpy part ends.  Scoop out any remaining seeds or pith.  With a spoon, or your fingers ;), cram as much BBQ inside as possible!  Mush it down, pour in a little enchilada sauce then cram more in! Repeat with all peppers.  Stand them up, propped against each other in a baking dish.  Pour the enchilada sauce over the tops of all of them, trying to keep as much on top as possible, not dripping down the sides.  Bake for about 45 minutes or until the pepper is softened.  Sprinkle with a tiny bit of cheese if you like and bake 5 minutes longer.  Serve with Cauliflower rice!  You might want to slice this baby open to cool for a minute - they are HOT!

Note: For these I just used some leftover shredded pork.  I roasted the pork shoulder last week and froze it without saucing it prior!


Pics coming!