When I started this blog I said I would bear my soul...well here you go...for more than 2 years I made this recipe multiple times per week, in my sleep...too many times to count. It became second nature to me...so it wasn't until I sat down to write this, that I realized that there is a lot more involved than I thought. I am going to do the best I can to give you all the tips and tricks to perfect cookies...but it takes time and experience, so don't get discouraged! However, I have done all the leg work, and both the cookie and icing recipe are the ones I landed on after MILES and MILES of trials!
What you need...
4 1/2 sticks of butter
1 1/2 cups confectioner's sugar
2 tsp vanilla or other extract, orange & almond are great!
4 cups flour (King Arthur Organic is what I prefer)
1 tsp salt
Mix salt and flour together and set aside. Add the butter and sugar to the bowl of a mixer and cream together until light and fluffy, add vanilla, continue mixing, begin adding flour a little at a time until all is incorporated well. Turn dough out onto a large sheet of plastic wrap. Press dough into a large flat disc, about 1 1/2" thick. Wrap tightly with plastic wrap and refrigerate for about 4 hours, up to a week!
When you are ready pull the dough out and allow to rest for about an hour, until softened. If it's too hard to roll out, give it a little longer and try again! If it's too hard it is REALLY difficult to get it to the right thickness. Lightly flour your work surface and place dough on flour, lightly flour top of dough as well. Using a pastry roller, roll out dough to about 1/2" thickness. Don't be afraid to add more flour to keep the dough from sticking! I usually work with about half the disc at a time!
These pastry/pizza rollers are tough to find, but they are SO much easier! You can always use a rolling pen, but I find that working with this little roller is much more efficient! You can usually find them in kitchen supply stores! They are only about $10, and I use mine all the time for anything dough related!
 |
| Pastry roller! |
 |
| See the thickness of the dough... |
Once you have your dough rolled out to an even field, use cookie cutters to cut out shapes - metal or plastic are fine! Carefully transfer them to a parchment lined baking sheet, using a spatula. Leave about an inch in between cookies. Continue rolling up your scraps and reusing them until all your dough is gone!
Once the sheet is full, place in the fridge for 15+ minutes.
This is the trick to really maintaining your perfect cutout shape. Let the dough get good and cold perfect attempting to bake them - don NOT skip this!! Preheat oven to 350F, convection if you have it! Bake for 12 minutes or until the edges just begin to turn golden, don't walk away...they can over bake in seconds! Transfer to cooling racks to cool completely. If any bubbles or uneven surface forms, gently press down on the warm cookies with a metal spatula to flatten.
The yield varies depending on the size of your cookies, but this batch of dough made 4 dozen medium sized cookies! Enough for me to decorate a few examples, and the kids to put the details on the rest at our Easter party!
Royal Icing
3 3/4 cups confectioners sugar
4 tsp meringues (I use Wilton and get it at AC Moore, Michaels or Walmart)
1 tsp CLEAR vanilla (if you use regular it will tint the icing slightly almond in color and your whites won't be bright) (I use Wilton and get it at AC Moore, Michaels or Walmart)
1/3 cup water + more if needed
Add the confectioner's sugar and the meringue powder to your mixer, fixed with a whisk/whip beater. Turn to low/2 and allow those to mix well to combine, the egg whites need to be evenly distributed for the icing to set up well! About 1 minute. Add vanilla and water as the mixer continues on low. Scrap the sides to help everything come together, about 1 minute. You want it to just combine to a mixture, it won't look like anything special at this point, don't worry! Once everything is incorporated, turn mixer to high and allow it to whip for about 2 minutes or until peaks form.
This should be the basic recipe for your outlines and details. You can cover and refrigerate this for days. Just make sure it's in a glass container, covered tightly! If it separates, which will only happen if it's refrigerated for a couple weeks, return it to the mixer and whip it again and it will be ready to roll!
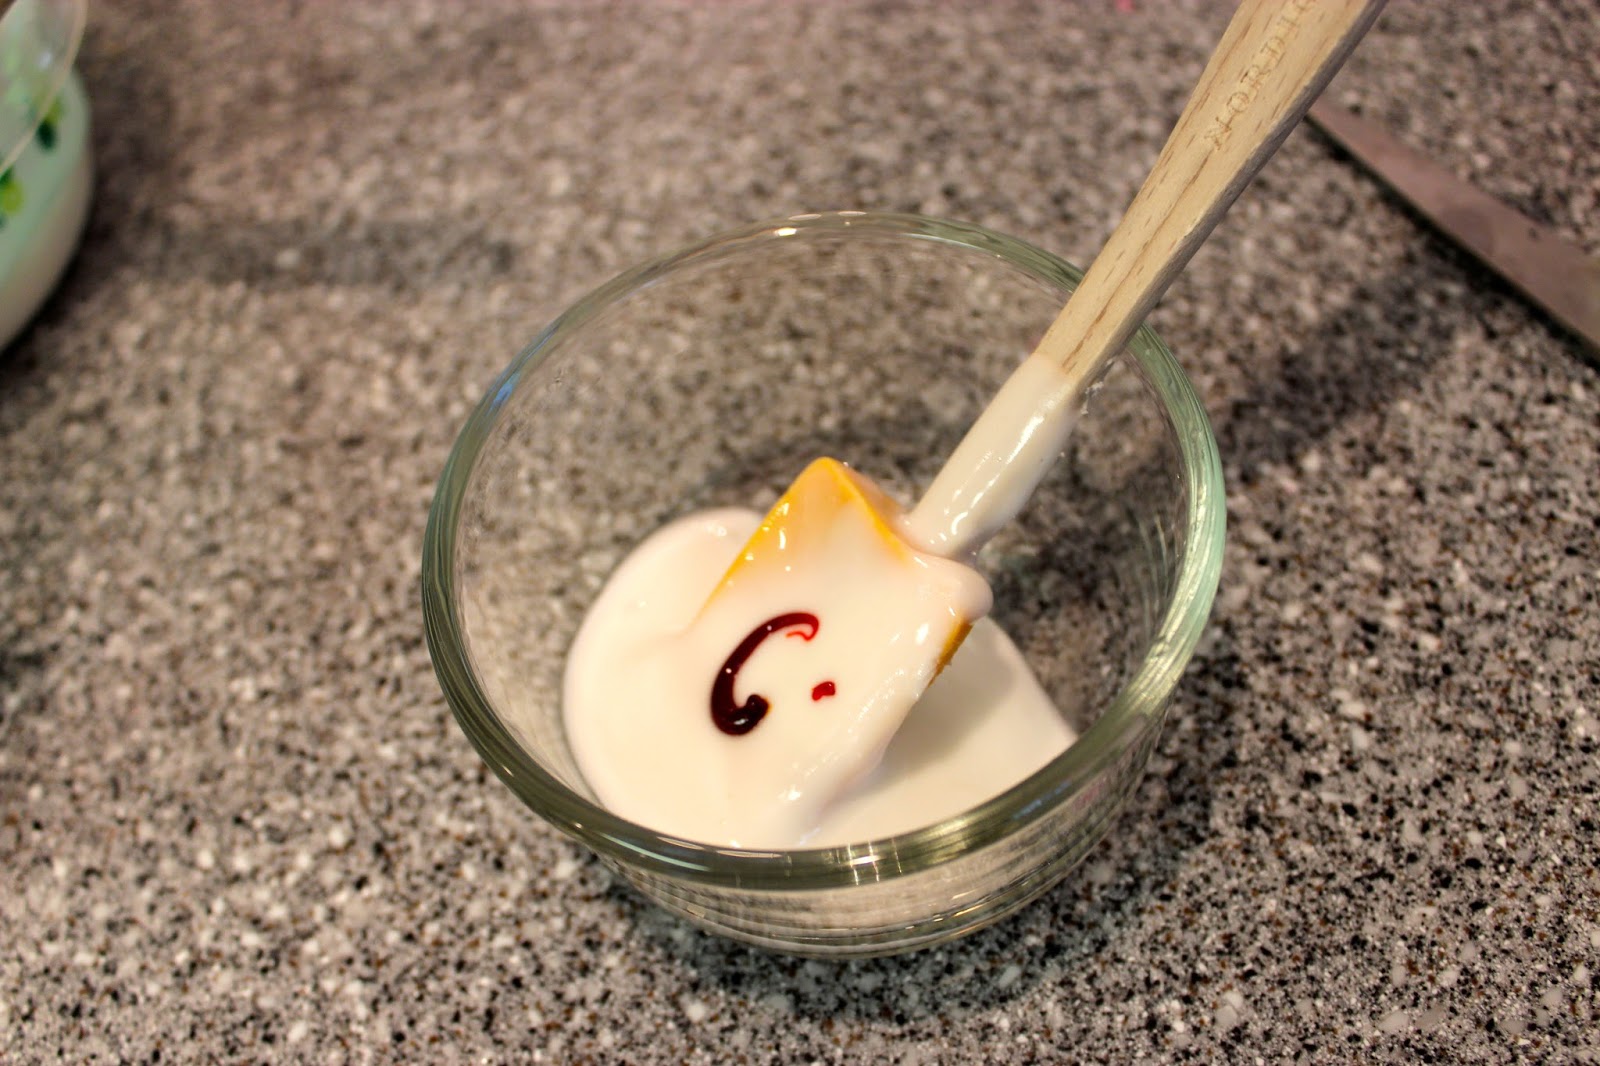
To me, the best way to do your outlines on the cookies, is to use a small bowl and tint a tiny bit of icing, to the desired color. I use gel colors, which you can also get at AC Moore, Hobby Lobby, etc. Water based colors don't work as well with Royal Icing. It only takes a little. I dip a toothpick into the color, if it isn't a tube, and start there. Adding little bits at a time until I reach the color I am looking for.
 |
| Gel colors... |
 |
| Get set... |
 |
| Mix colors... |
 |
| Once you mix your color, place a plastic baggie into a small glass and fill with icing! |
Once you get the colors just right, place a cheap plastic sandwich bag into a small glass to hold it open for you to fill. Scoop all your color right in and seal. I have used bottles, bags with tips, EVERYTHING...but this is my preferred method. The cheap bags are just thin enough to draw really well and even with thinned icing to fill in tiny spots. The freezer ones are too thick! You will use sharp scissors to clip just the tiniest corner of the bag. You can make the hole larger or smaller depending on if you are outlining or detailing!
 |
| I use the cheap HT brand sandwich size bags. The freezer kind are too thick and don't work well. Once filled, clip the tiniest bit off the corner for easy drawing! |
 |
I like to fix ALL the colors I will be using ahead, so that I can just decorate, because this is the part I love!
|
I like to do all mine outlines, and then fill everything. If you outline all the cookies and then go back and fill, that gives the outlines enough time to set up just a little! I outline everything, then fill one color at a time.
 |
| I left all these blank with just the base coat for the kiddos to put details on! |
 |
| Use your imagination! Anything is possible! I have done hundreds of different cookies! Quite a few CRAZY ones that people asked for and I had no idea how to even begin! |
When you fill, you will want to dilute this icing with only a few drops of water. I use a medicine dropper. When you outline you want your consistency to be like toothpaste, when you fill in spaces, like shampoo. So dilute just until the icing begins to get runny like shampoo! Then it's ready to fill in spaces! Allow the base to cure up for 4+ hours before doing details.
If you need to fill a tiny space, thin the icing and put it into a zippy, clip the corner and fill with that!
So, the thicker icing is for outlines and details once the base coat is complete. The thinned icing is only for filling spaces!
This is just the most BASIC info to get you started! I will continue with lots of tips, tricks and decorating details!!! Please feel free to add comments and questions! This is a ton of info, but I still feel like I am missing SOOOO much! Forgive me if I left anything out. I will continue to read and reread trying to make sure I have everything you need to get started!
 |
| Vacation Bible School Olympic Medals |
 |
| Monograms |
 |
| Christening |
 |
| The Christmas Story |
 |
| Mermaids |
 |
| Paint Palates |
 |
| Girl Scouts |
 |
| Breast Cancer Awareness |
 |
| Open House |
 |
| Bookworms |
 |
| Bumble Bee First Birthday |
 |
| One of my all time favorites! |